Create an element
Table of contents
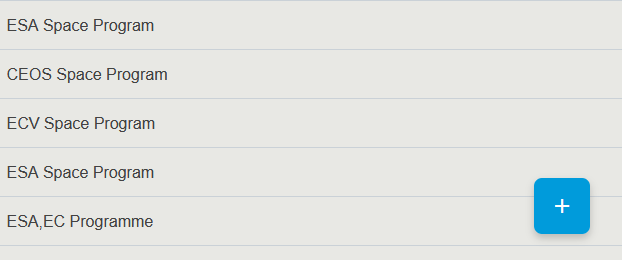
On each page of the Timelines application (and other list views), you can click the + button in the lower-right part of the screen to create a new element.
A panel will open on the right. Fill all required fields unless noted otherwise.
Create a Space Programme
-
Go to the Timelines application through the topbar.
-
In the Gantt or Table view, select Space Programme from the dropdown in the top left.
-
Click the blue + button in the bottom right of the screen.
-
Enter a Name, Short Name, and Definition.
-
Click Save.
Create a Mission
A Mission must belong to a Space Programme. Create a Programme first if needed (see above).
-
Go to the Timelines application through the topbar.
-
In the Gantt or Table view, select Mission from the dropdown.
-
Click the blue + button in the bottom right.
-
Enter a Name, Short Name, and Definition. Select the parent Space Programme.
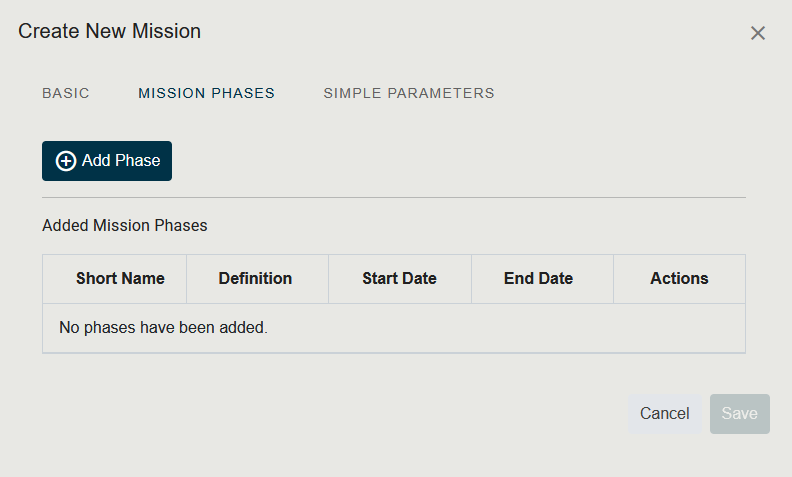
- Click the Mission Phases tab to add lifecycle phases:
- Click + New mission phase
- Enter phase details (Name, Start Date, End Date)
- Click Save on the mission phase
- Click Save to save the Mission.
Create a Data Product
-
Go to the Timelines application through the topbar.
-
Select Data Product from the dropdown.
-
Click the blue + button.
-
Enter a Name, Short Name, Definition, and optionally the Data Product Level.
-
Click Save.
Data Products can also be created directly from a Mission detail page.
Create an Instrument (Payload)
Instruments are created within a System context. Navigate to the System’s detail page, or:
-
Go to the Timelines application through the topbar.
-
Select Payload from the dropdown.
-
Click the blue + button.
-
Enter the instrument details: Name, Short Name, Definition, Data Type.
-
Click Save.
Create a Project
-
Go to the Timelines application through the topbar.
-
Select Project from the dropdown (if available) or navigate via the Data page.
-
Click the blue + button.
-
Enter a Name, Definition, and select the associated Missions and Space Programme.
-
Optionally add Project Phases in the corresponding tab.
-
Click Save.
Create an Essential Climate Variable (ECV)
-
Go to the Timelines application through the topbar.
-
Select ECV from the dropdown.
-
Click the blue + button.
-
Enter a Name, Short Name, and Definition.
-
Click Save.
Create a Requirement Specification
-
Go to the Policies and Requirements application through the topbar.
-
Click the blue + button in the bottom right.
-
Enter a Name, Short Name, and Definition.
-
Click Save.
Create a Requirement Group
-
Go to the Policies and Requirements application through the topbar.
-
Right-click on a Requirement Specification or an existing Requirement Group.
-
Click Add Requirement Group.
-
Enter a Name, Short Name, Definition, and optionally a Data Source.
-
Click Save.
Create a Requirement
-
Go to the Policies and Requirements application through the topbar.
-
Right-click on a Requirement Group.
-
Click Add Requirement.
-
Enter a Name, Short Name, Definition, and the Data Type. Optionally add a Data Source.
-
Click Save.
Create an ECV Requirement
-
Go to the Policies and Requirements application through the topbar.
-
Right-click on a Requirement Group.
-
Click Add ECV Requirement.
-
Enter a Name, Short Name, Definition, and the Data Type. Optionally add a Data Source.
-
Click Save.
Create an Organisation
-
Go to the Administration application through the topbar.
-
Select Organisations from the selector.
-
Click the blue + button.
-
Enter the Organisation name, definition, and any relevant details.
-
Click Save.