Reference Scenarios
Table of contents
Overview
The Reference Scenarios page lets you build, manage, and run step-by-step scripted walkthroughs of the EORSA-DB application. Each scenario is a named sequence of steps, where each step captures the state of a particular visualization (subject, view type, active filters, selected columns). Running a scenario automatically exports each step in the configured format, producing a repeatable, shareable analysis workflow.
Access requires the AccessOtherDataButProgrammatics permission. The page is accessible from the Reference Scenarios menu item in the top navigation bar.
Scenario List
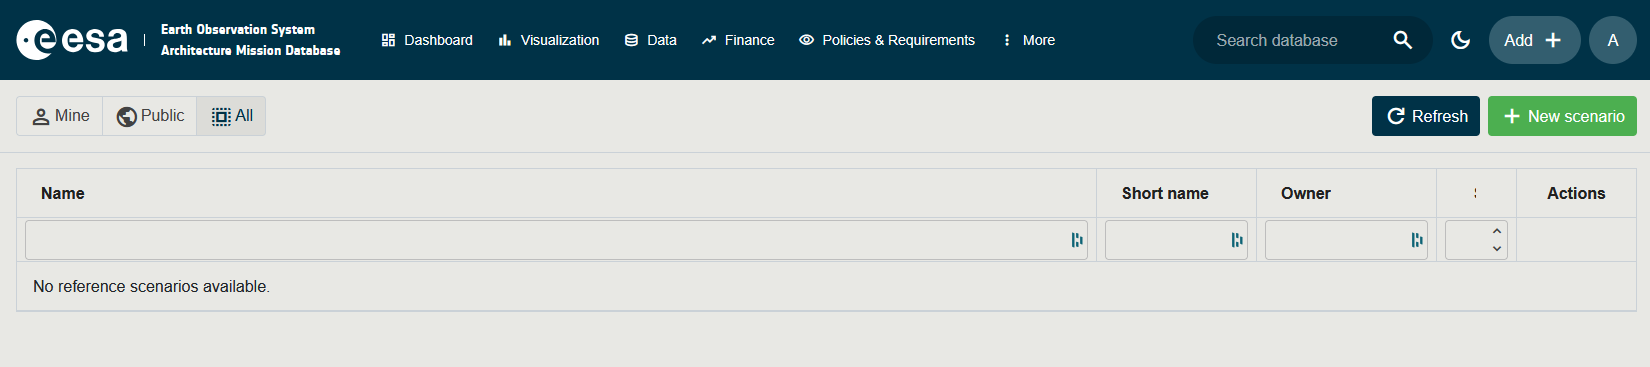
Toolbar
The toolbar at the top of the list offers:
| Control | Description |
|---|---|
| Mine / Public / All toggle | Filters the grid to show only your own scenarios (Mine), only publicly shared scenarios (Public), or all accessible scenarios (All). |
| Refresh | Reloads the list from the server. |
| New scenario (green) | Opens a creation dialog to define a new scenario (Name, Short Name, Definition, Visibility). |
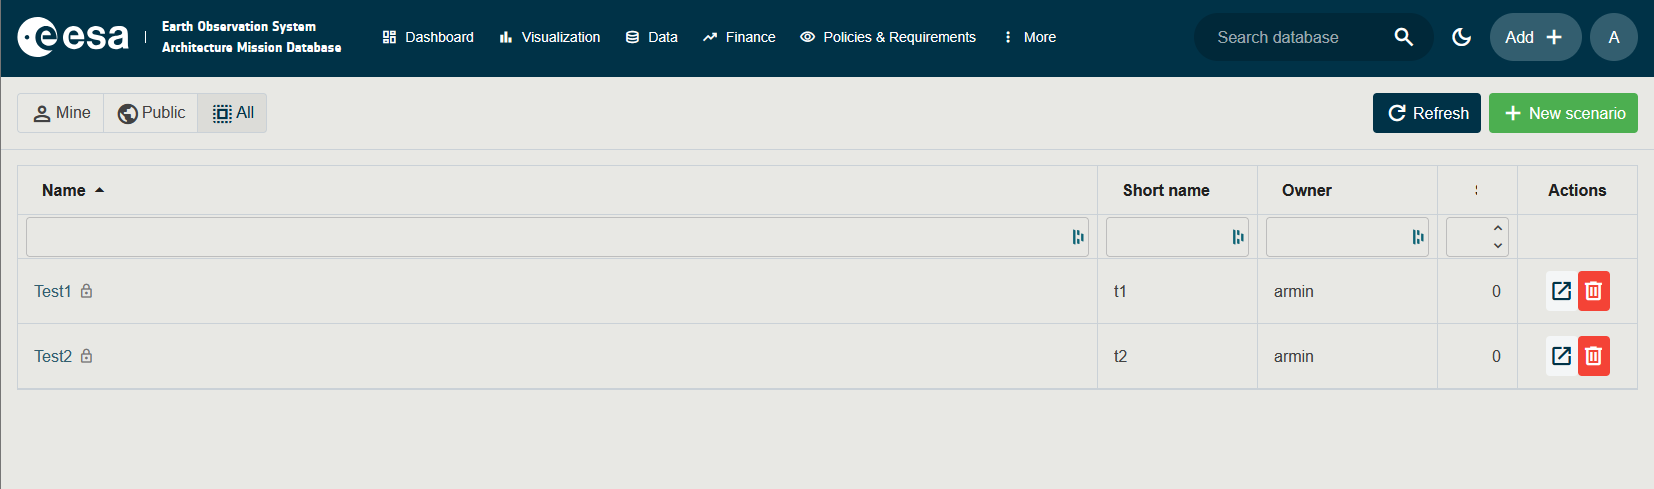
Grid Columns
| Column | Description |
|---|---|
| Name | The scenario name. Public scenarios show a green globe icon (🌐); private scenarios show a grey lock icon (🔒). Click the name to open the scenario detail page. |
| Short name | An abbreviated identifier for the scenario. |
| Owner | The username of the person who created the scenario. |
| Steps | The number of steps currently defined in the scenario. |
| Actions | Open (→) opens the scenario detail page; Delete (🗑) permanently removes the scenario (with confirmation). |
Scenario Detail Page
Click on a scenario name (or the Open button) to open its detail page.
Toolbar
| Control | Description |
|---|---|
| ← Back | Returns to the scenario list. |
| Edit | Opens the edit dialog to rename, update the short name, definition, or change the visibility of the scenario. |
| Run scenario (green) | Executes all steps sequentially and produces downloadable exports. Disabled if the scenario has no steps. |
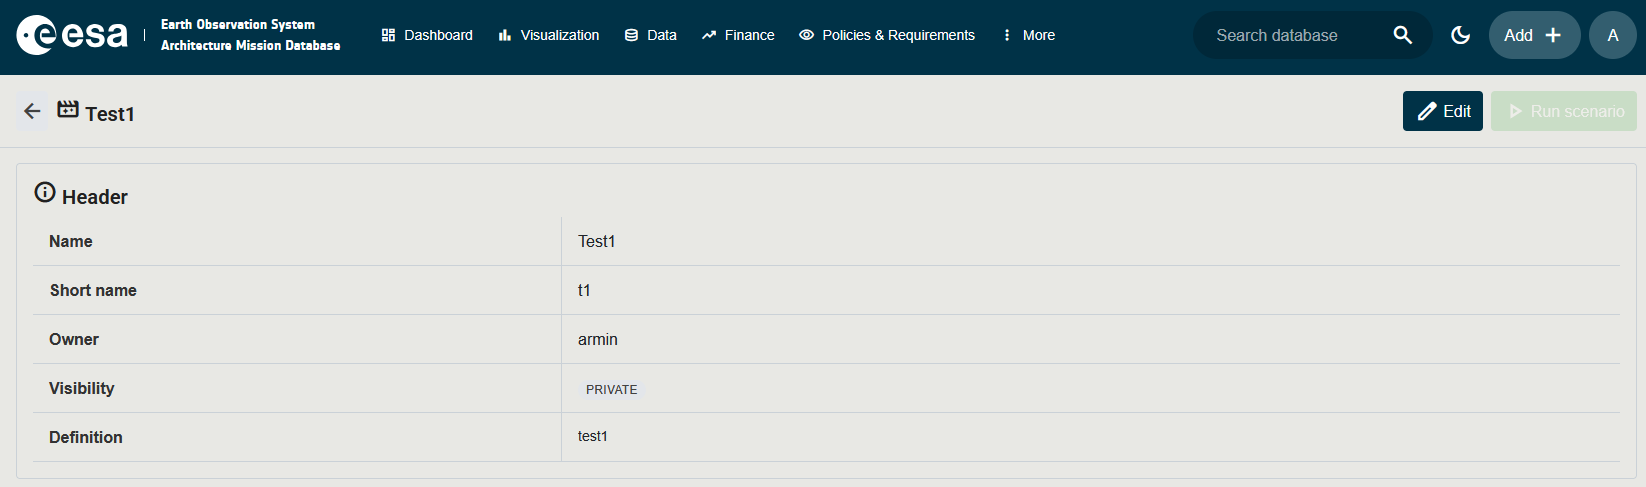
Header Card
Displays the scenario metadata:
| Field | Description |
|---|---|
| Name | The full name of the scenario. |
| Short name | Abbreviated identifier. |
| Owner | The user who created the scenario. |
| Visibility | A Public (green) or Private (grey) badge indicating whether the scenario is visible to all users or only to the owner. |
| Definition | A free-text description of the scenario’s purpose. |
Steps Card
Lists all steps in the scenario in execution order. Each row shows:
| Column | Description |
|---|---|
| # | Execution order (sort key). |
| Name | The step name. |
| Short name | Abbreviated name. |
| Tool | The visualization tool that will be used (e.g. Gantt, Heatmap, Sankey, Spectrum Coverage). |
| Format | The export format for this step (e.g. Excel, MS Project). |
| Definition | A description of what this step captures. |
| Selected columns | Extra parameter columns included in the export, shown as blue chips. |
| (Open icon) | For Sankey steps that store selections, a button to re-open the saved view directly in the Timelines application. |
Last Run Card
After running a scenario, the Last Run card appears showing the overall result and per-step details:
| Column | Description |
|---|---|
| # | Step order. |
| Step | Step name. |
| Status | Green check-circle (succeeded) or red error icon (failed — hover for the error message). |
| Items | Number of items exported in this step. |
| Tool | The tool used. |
| Format | The export format. |
| Download | A download button to retrieve the file generated by this step. Files are deleted after download. |

The download link will disappear when leaving the page and the link will be invalid after 5 minutes or after the first download.
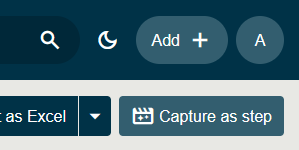
Adding Steps via “Capture as step”
Steps are added directly from within the Visualization (Timelines) page:
- Navigate to Visualization and select a subject and view (Gantt, Heatmap, Sankey, or Spectrum Coverage).
- Apply any desired filters and column selections.
- Click Capture as step in the top-right of the toolbar.
- A dialog opens where you select the target scenario (or create a new one), name the step, and choose the export format.
- Click Save — the step is appended to the selected scenario.
The Capture as step button is disabled until a subject and a view type are both selected.
Visibility and Sharing
- Private scenarios are visible only to their owner.
- Public scenarios are visible to all users with the
AccessOtherDataButProgrammaticspermission. - Promoting a scenario to Public requires the
ApprovePublicationOfWhatIfScenariospermission. The visibility can be toggled in the Edit dialog on the detail page.